01
Match the wax to the job
Traditional brittle wax has an old-world snap, but flexible sealing wax is usually a more forgiving choice for invitations and letters that need to travel. Peel-and-stick finished seals are useful when you want a uniform result or need to assemble in batches.
If the seal will be purely decorative, make it on a silicone mat and attach it after it cools. This gives you a second chance if the impression is uneven.
02
What should be in the box
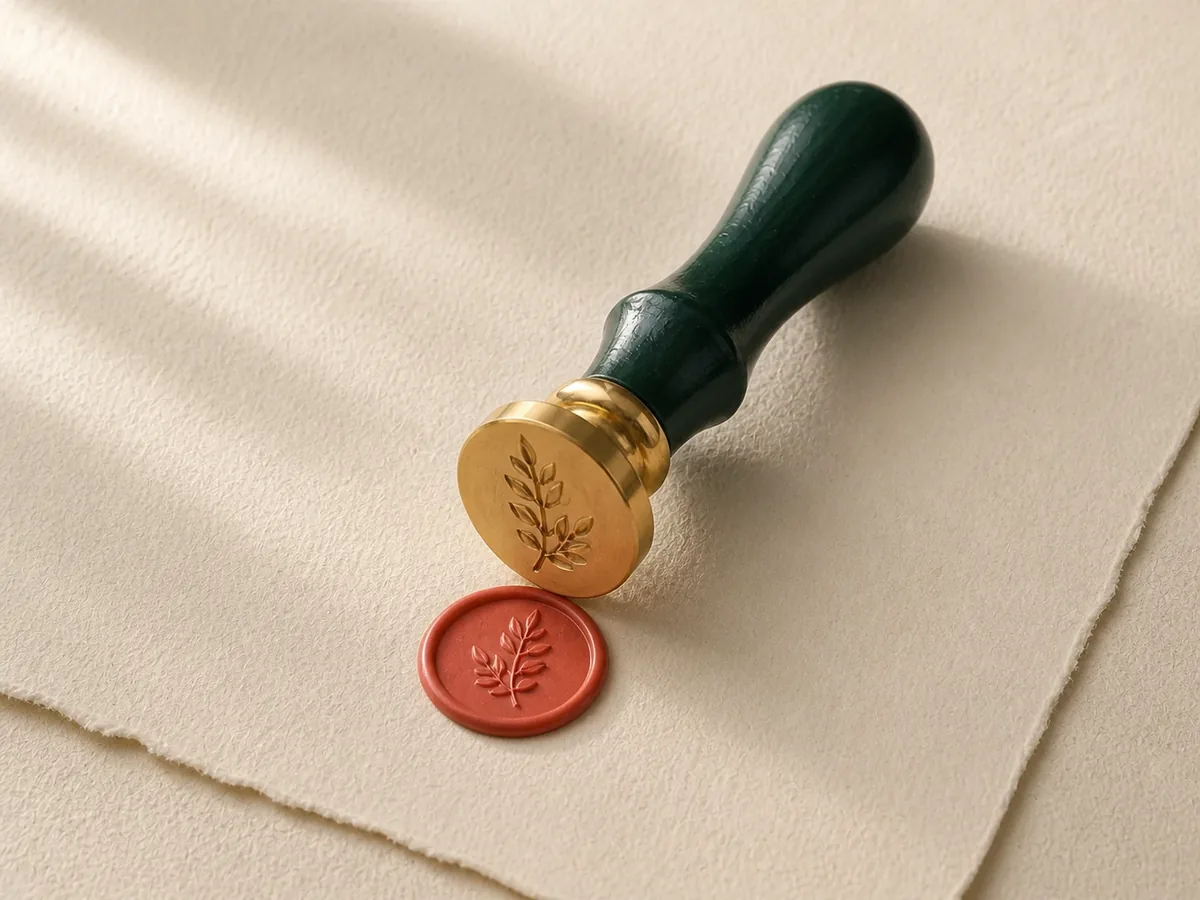
A genuinely useful starter kit is small. It gives you a safe heat source, a stable place for the spoon, wax you can replenish, and a stamp that produces crisp details.
- A 25–30 mm stamp head for versatile everyday use
- A comfortable handle with a standard threaded fitting
- Flexible wax beads or sticks
- A metal spoon and stable warmer
- A heat-safe silicone work surface
- Simple instructions and replacement wax you can find again
03
The postal reality check
An exterior seal can add thickness and may catch in automated sorting. Before mailing an important piece, test one letter locally or ask your postal service whether hand-canceling, extra postage, or an outer envelope is appropriate.
Never place hot wax directly over delicate contents. Let the letter sit flat and fully cool before it goes into a mailbox.